(I) Construction process
Wall tiles, ceilings, floor tiles, toilets, washbasins and bathtubs, installation and connection of drains, installation of lamps, sockets, mirrors, installation of towel bars and other hardware accessories.
1. The toilet process
Check the ground drain pipe → align the nozzle → flatten the alignment → draw the mark → punch the hole → put the putty → cover the rubber pad → screw on the nut, → mark the two holes on the back of the tank → punch → Insert the bolt → Securely press → Place the back tank with the flat alignment → Screw on the nut → Install the backwater tank elbow → Install the eight-word door → Bend the fork of the maternity lamp → Insert the drift door and the eight-character door → Tighten the nut.
2. Washbasin process
Expansion bolts are inserted → æ» â†’ → → 盆 盆 盆 盆 盆 盆 挂 挂 挂 把 把 把 把 把 把 把 把 把 把 脸 脸 把 把 把 把 把 把 把 把 把 。 。 。 。 。 。 。 →
3. Bathtub process
Bathtub installation: → Launching → Putty tightly closed → Sheung Shui installation → Try to find out
4. Shower process
Cold and hot water nozzles are leveled with test tubes → Measure short section dimensions → Installed on the nozzles → Apply brass to the water inlet of the shower and apply the nut → Tighten on the wall → The upper copper tube is installed in the three ports → Wood screws are fixed to the wall.
5. The process of bidet
Hybrid switch, hot and cold water door cover and nut leveling, → water gate installed → nozzle turn core door installed → hot and cold water door outlet nut tightening → hybrid switch nut tightening → install three water door cover → magnetic bowl installation Good → When installing the nozzle → Install the drain → When installing the handlebar → Adjust the positioning.
[qeekapage]
(b) Construction essentials
1. Wash basin installation construction essentials:
(1) Sink basin products should be flat and lossless. Drain plugs shall have overflow holes of not less than 8mm diameter.
(2) Drain plugs and sinks When connecting, the drain plug overflow hole should be aligned with the overflow hole of the sink basin as much as possible to ensure that the overflow site is unblocked. The top surface of the drain plug should be lower than the bottom of the wash basin after being attached.
(3) Bracket fixing bolts may be galvanized bolts or galvanized metal expansion bolts of not less than 6mm (if the wall is perforated, expansion bolts are strictly prohibited).
(4) After connecting the sink with the drain pipe, it should be solid and dense, and it is easy to disassemble. The joint must not be exposed. The sinks are applied with silicone paste at the wall contact points.
(5) If sink drainage traps and taps are plated products, the coating must not be damaged during installation.
2. Tub installation method:
(1) When the apron tub is installed, the bottom of the apron shall be close to the ground, and a 250-300mm hole shall be reserved in the drainage place of the floor slab to facilitate drainage installation. A manhole shall be provided at the end wall of the bathtub drain.
(2) Other types of bathtubs can determine the height of the tub on the basis of relevant standards or user requirements. Then install the tub after laying two brick bases. For example, the side of the bath tub should be installed with a manhole or a manhole at the drain end wall.
(3) The height of various hot and cold faucets or mixer taps shall be 150mm higher than the upper plane of the bathtub. The chrome plating should not be damaged during installation. Chrome plated cover should be close to the wall.
(4) The height of the fixed shower and hose shower can be installed according to relevant standards or according to user's requirements.
(5) The installation plane of the bathtub must be calibrated with a horizontal ruler and must not be sideways. The joint between the side of the bathtub and the wall is filled with sealant and compacted.
(6) The connection between the tub drain and the drain pipe should be solid and compact, and it is easy to disassemble and the joint must not be exposed.
3 toilet installation points
1) The height of the water supply pipe is usually 250mm from the ground to the center of the valve. If the one-piece toilet is installed, the height of the water inlet of the toilet shall be determined, but not less than 100mm. The center of the water supply valve is generally in the sewer pipe. 150mm to the left of the center or position based on the actual size of the toilet.
2) The low tank toilet uses galvanized bolts or galvanized metal expansion bolts in the tank. If the wall is a perforated brick, expansion bolts are strictly prohibited. A soft gasket should be used between the tank and the nut. It is forbidden to use a metal hard plate.
3) The water tank should be no more than 20mm away from the wall of the water tank and one-piece toilet.
4) The installation of the toilet shall not be less than 6mm galvanized expansion bolts, the soft washer shall be used between the toilet and the nuts, and the sewage pipe shall be exposed to the ground 10mm.
5) When the toilet is installed, put the putty around the bottom drain first, then slowly align the discharge outlet of the toilet with the sewage pipe and press it down to fill the flat surface. Then tighten the gasket nut and remove it. Putty, with a putty filling around the base immediately after cleaning with a wire or wipe.
6) The height of the overflow pipe in the flushing tank should be 30~40mm lower than the wrench hole to prevent water overflow from the wrench hole when the inlet valve is damaged.
(III) Precautions
1. Do not damage the waterproof layer. If there is damage or no waterproof layer, waterproof should be done first, and 12 hours of water leakage test.
2. Sanitary ware is firmly fixed and the pipe connections are tight.
3. Pay attention to finished product protection and prevent bumping sanitary ware.
Construction acceptance faucet switch socket
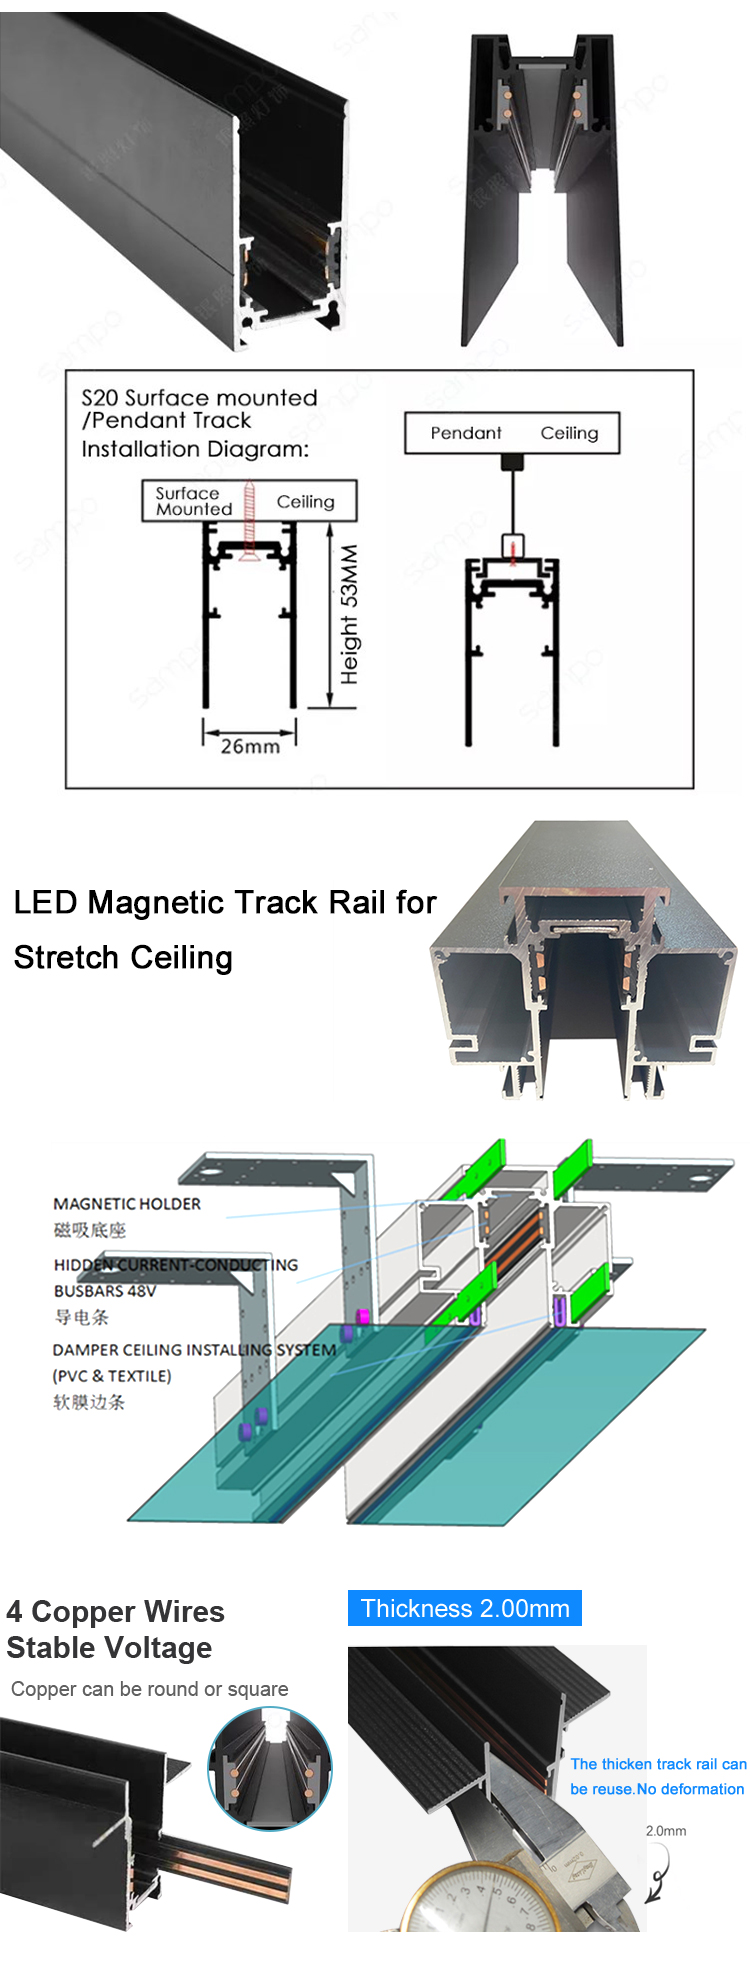
Modern Magnetic Track Lighting consist of aluminum profiles with integrated electric wires.The voltage inside the track is 48v ,safety.So DC48V magnetic track lighting system can also be used in places within easy reach .Available accessories and angle connectors allow you to create complex systems not only on the ceiling .
Magnetic track lighting is more and more popular on the market.But how to choose the thickness of magnetic track rail?
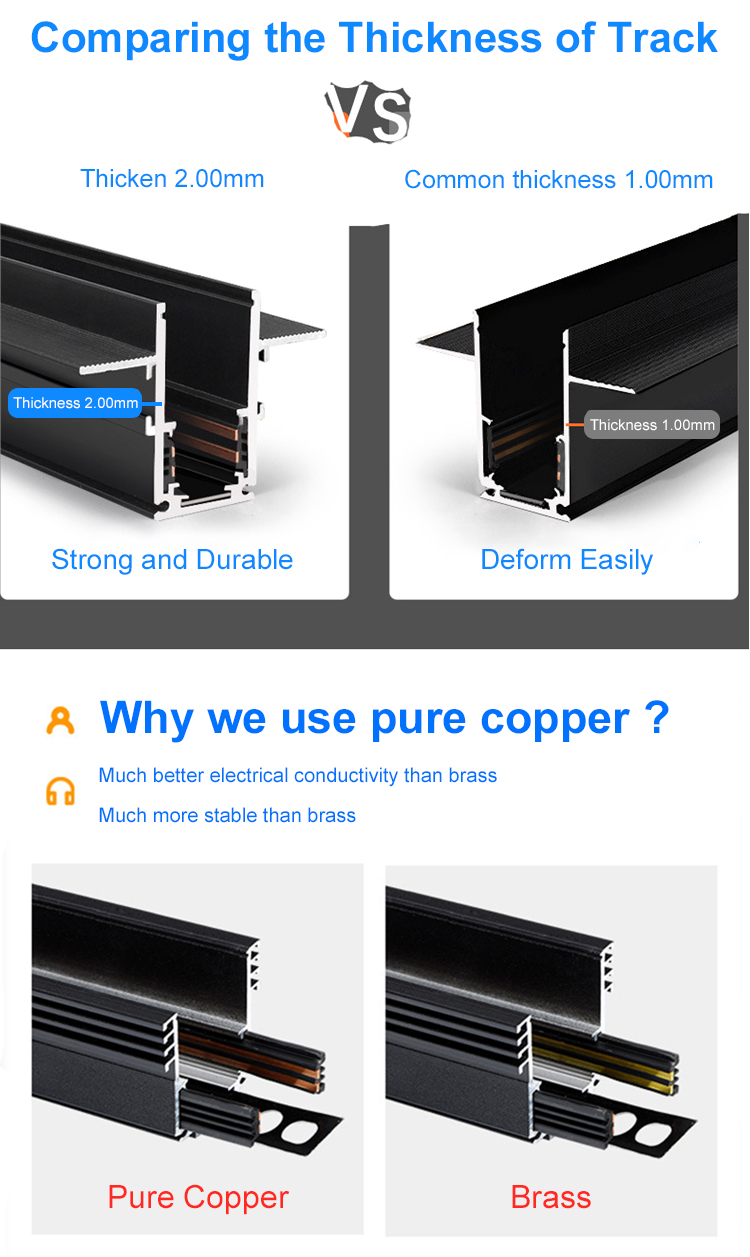
Must be thick enough.
This led magnet rail from production to transportation to installation and then to install the magnetic track light, must withstand many collisions and pressure, if your led track rail is only 1.2 or 1mm, has not yet been installed to deformation, installation can not conduct, these are generally used in party A price engineering or cheat you online shop. Have you ever seen a rail bend like that in your hand?
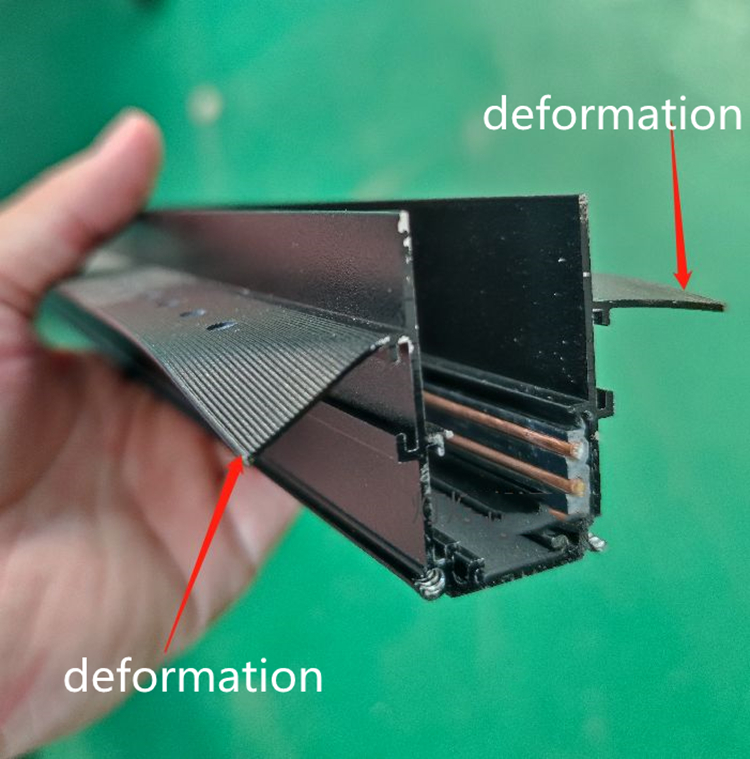
If too thin, transportation is the most easy to be deformation, conductive article easy to fall off, installed in the ceiling to extrusion deformation, which will influence the safe use of lamps .The greater risk, because of the deformation, the Magnetic Track Light not to live at the bottom of the iron absorption.Magnetic suction screens card is unstable, will be easy to spend down from ceiling to people, this is very big security hidden danger
/d0b33839289418b5c7664660b1.jpg" title="Poor Magnetic Track Rail" alt="Poor Magnetic Track Rail" />
There are 1.4mm, 1.5mm, 1.6mm, 1.8mm, 2.0mm,2.2mm thickness on the market.Normally enough material 2.0 can be used at ease, is more reliable quality.

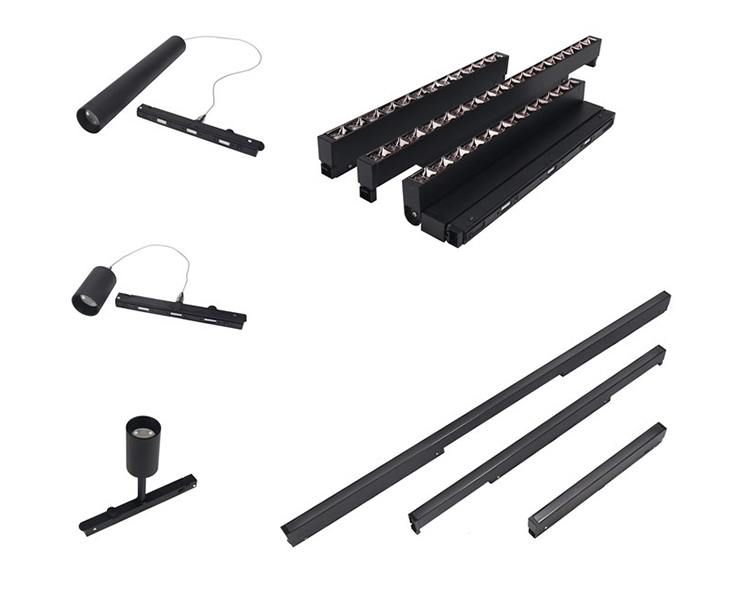
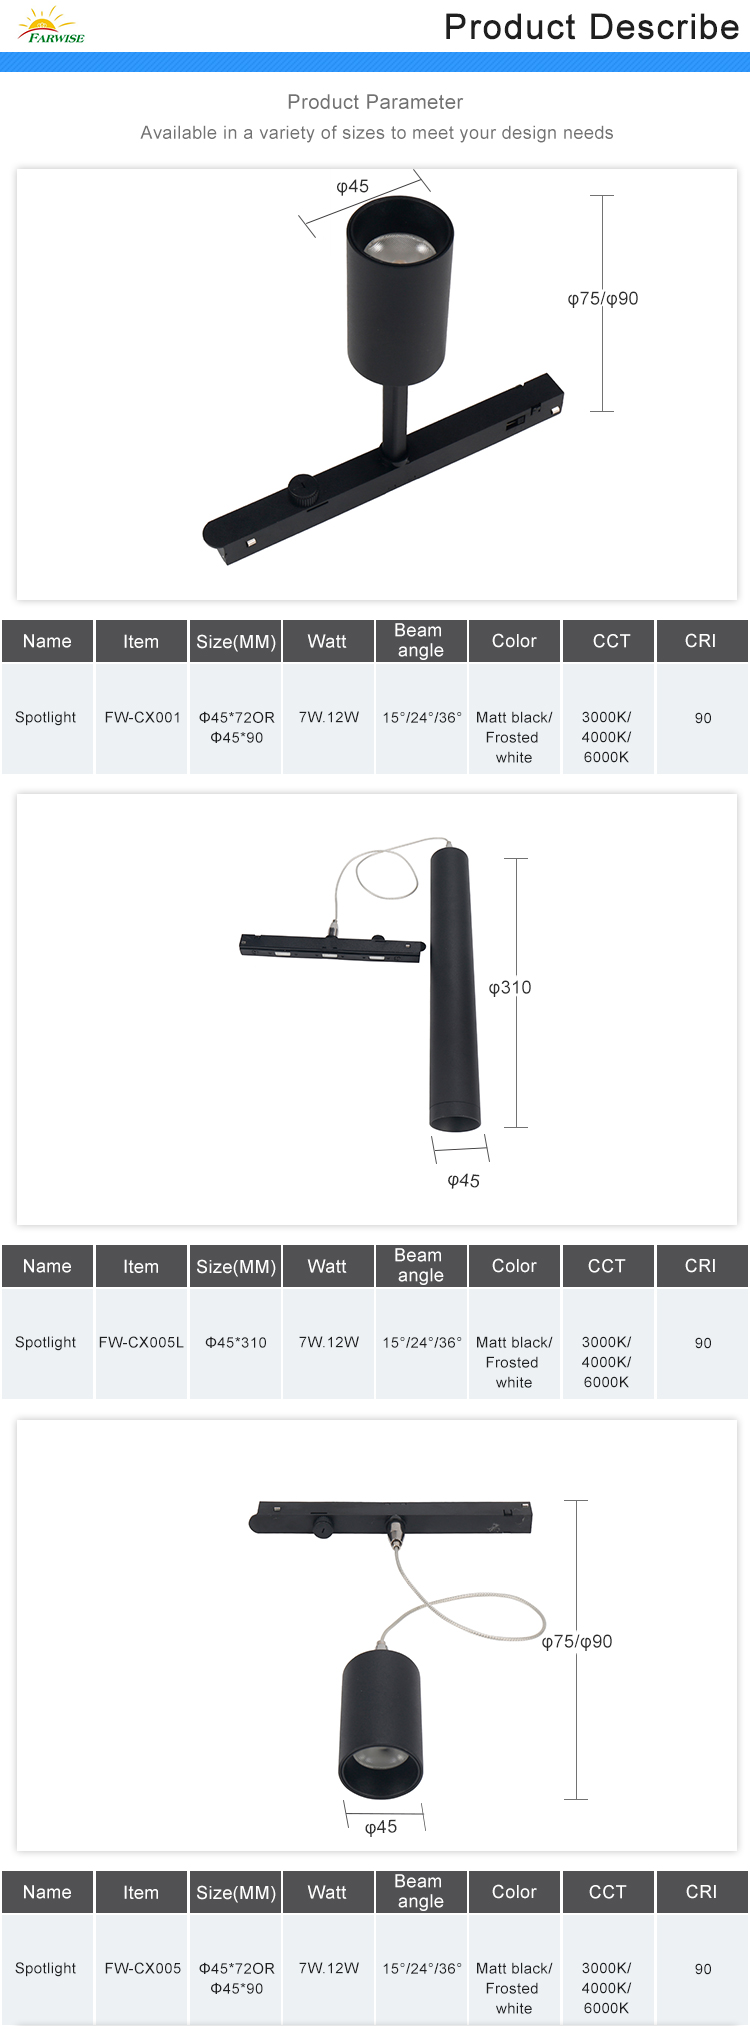
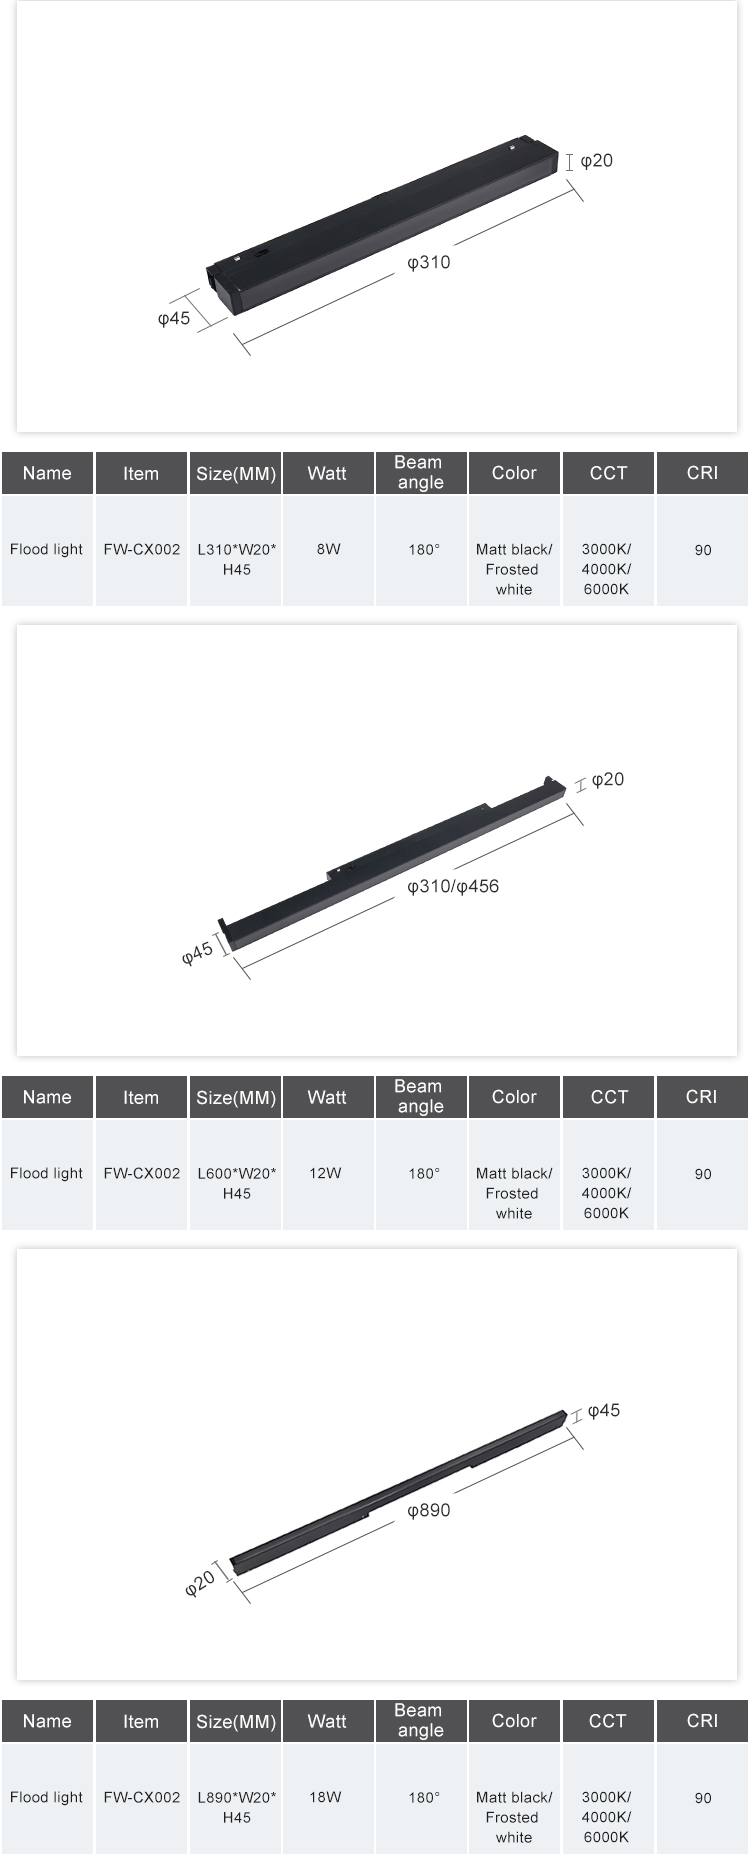


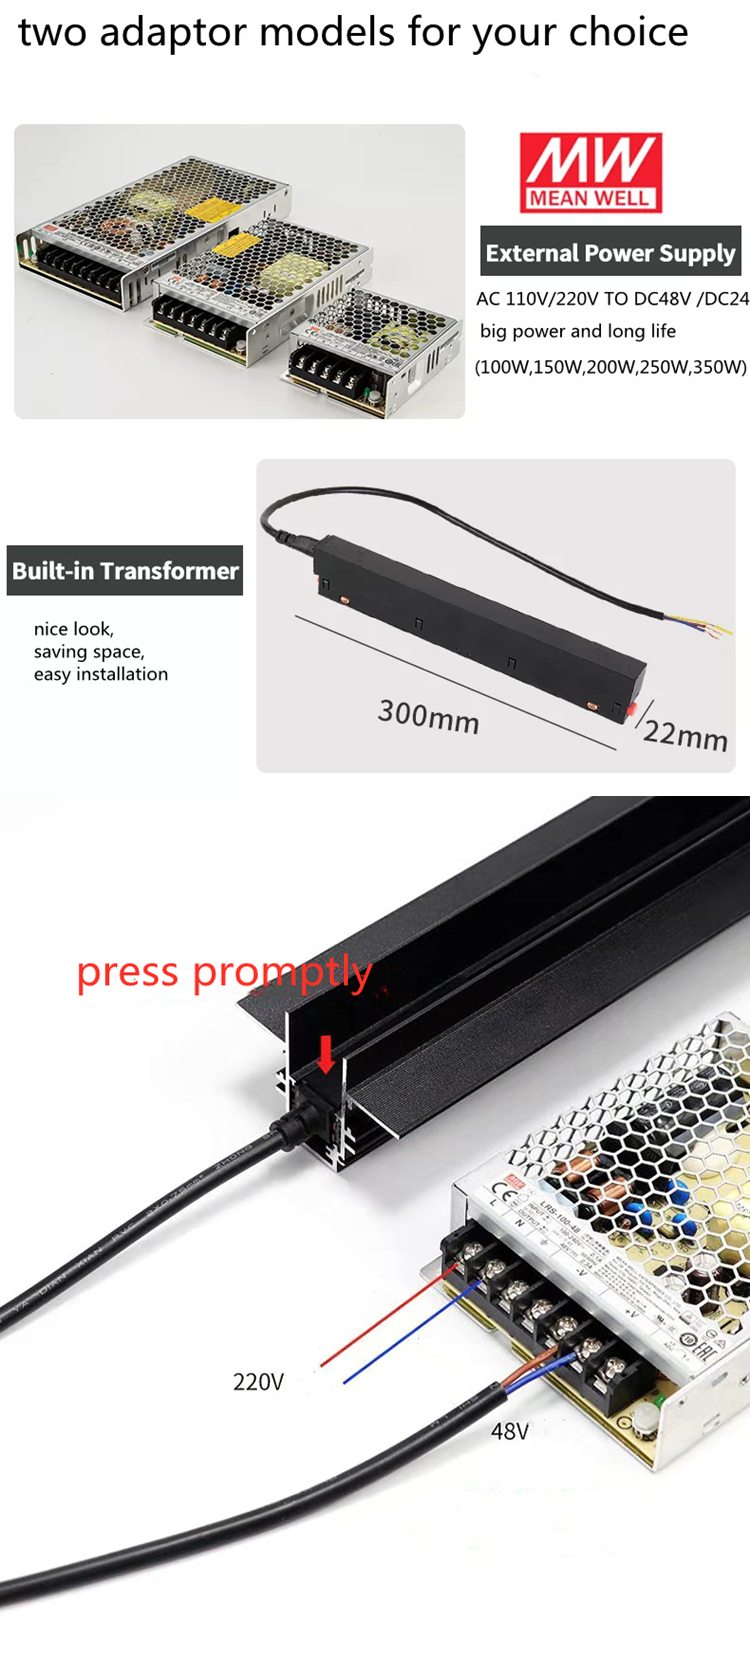
magnetic track rail, Magnetic light rail ,led magnetic track,magnetic rail , magnetic lighting profile
Farwise Technology Co.,Ltd. , https://www.farwiselighting.com